Tripcart provides a feature to create and manage a navigation menu at the top of the header. This navigation menu helps users easily find and access different parts of your site, such as trips, pages, posts, and categories. Please navigate to Dashboard > Website Settings > Menu.
Follow the steps below to create and configure your site navigation menu:
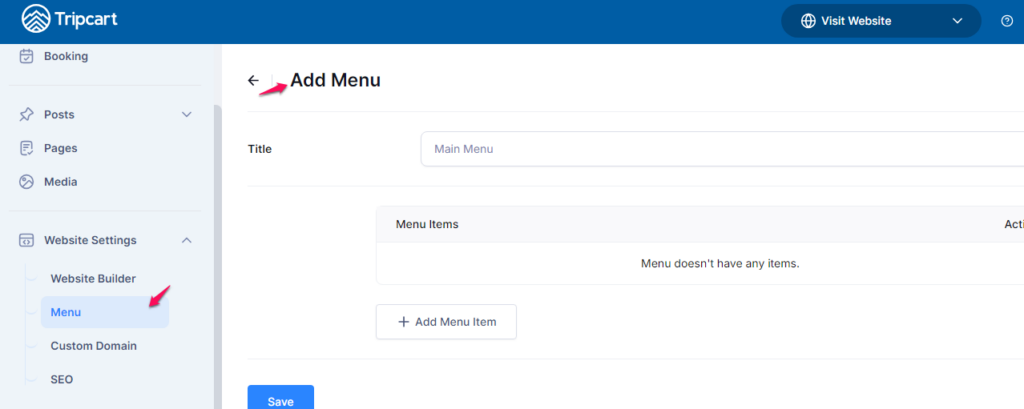
Steps to Create a New Navigation Menu #
- Go to Dashboard > Website Settings :
- Navigate to the Dashboard and click on Menu to access the menu settings.
- Add a New Menu:
- Click on Add Menu on the page.
- Enter a Menu Name:
- In the Menu Name box, enter a title for your new main menu. This title helps you identify the menu but is not displayed on the site.
- Add Menu Items:
- Click the Add Menu Item button to start adding items to your menu.
Adding Menu Items #
The Pages Link and Custom Links boxes on the right side of the page allow you to add different types of links to your navigation menu.
- Pages Link:
- Under the Pages Link section, you can add any pages of the trips, pages, posts, or categories available on your site.
- Select the pages you want to add to the menu and click the Add to Menu button.
- Custom Link:
- Under the Custom Links section, you can add links to any pages, such as trips, pages, posts, categories, or even external websites.
- Enter the URL and the Menu Title for the custom link.
- Click the Add to Menu button.
Save the Menu #
Once you have added all desired menu items, click the Save button to save your new navigation menu.
Note: The menu added can only consist of three layers.