A Single-Day Tour is designed for travelers seeking a quick yet enriching travel experience within a single day. It’s ideal for exploring a specific destination or enjoying unique activities without overnight stays. With this feature, you can showcase detailed itineraries, highlight key attractions, and provide essential information like transportation options, activity details, and meal inclusions.
In this guide, you’ll learn how to set up a single-day tour step by step, including adding itineraries, pricing, and availability details, ensuring your tours stand out to potential customers.
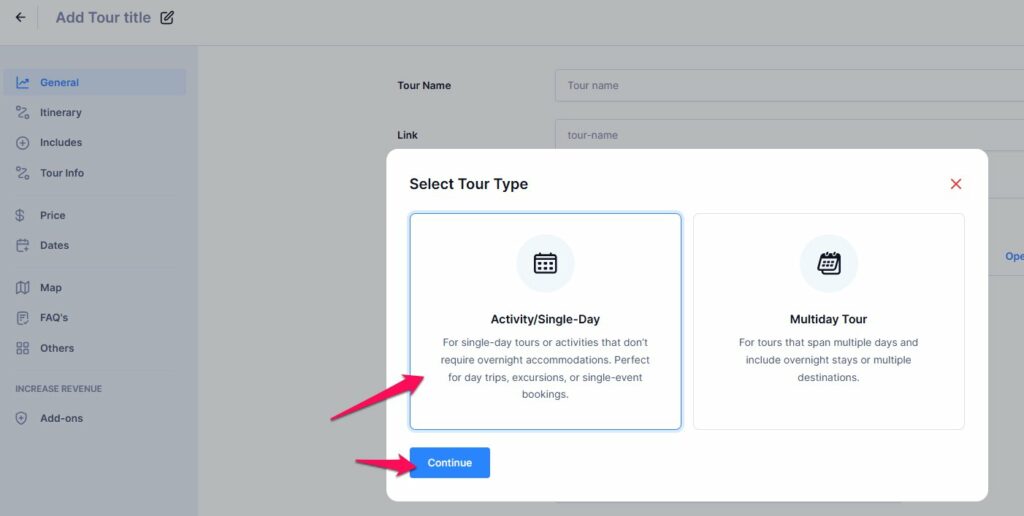
To create a single day tour, follow these steps:
- Log in to your account on Tripcart.
- Navigate to ‘All Tours‘ under the ‘Tour’ dropdown in the dashboard.

- Click the Add New Tour button.
- Select Activity/Single-Day Tour from the available options.
While creating a tour, you will be presented with multiple options to fill out, organized into various sections and tabs.
The main sections are as follows:
General: #
Please configure the below settings to configure General settings:

- Tour Name: Enter the name of the tour here.
- Link: After entering the Tour Name, the URL for the tour will be automatically generated. You can modify this URL as needed.
- Tour Type: Select the appropriate tour type. By default, “Activity/Single-Day” will be selected.
- Duration: Specify the tour duration in hours.
- Age Range: Define the suitable age range for participants.
- Destination: Enter the destination for the tour. New destinations can be created from this section.
- Activities: List the activities to include in the tour. New Activities can be created from this section.
- Difficulty Level: Specify the difficulty level of the tour (e.g., Easy, Moderate, Difficult). For instructions on how to add a new difficulty level, refer to this link.
- Tour Label: Add a label for a tour. These labels will be displayed on the tour archive pages, homepage and related tours.
- Excerpt: Add a brief summary or key details that will appear in the description here.
- Description: Provide a detailed description of the tour. You can use multiple blocks to format and edit the description.
- Add Gallery: Upload images related to the tour to create a gallery. The maximum allowed image size is 2MB.
Itinerary: #

The itinerary section allows you to create a detailed itinerary for the tour. Under this section, you need to fill out the following details:
- Section Title: Provide a title for the itinerary section.
- Time: Specify the time of the itinerary (e.g.1,2).
- Itinerary Title: Enter a title for the day’s itinerary.
- Itinerary Description: Provide a detailed description of the day’s activities and highlights.
- Add Gallery: Upload images related to the day’s itinerary.
- Add Itinerary: Click on the ” Add Itinerary ” button to add more itineraries.

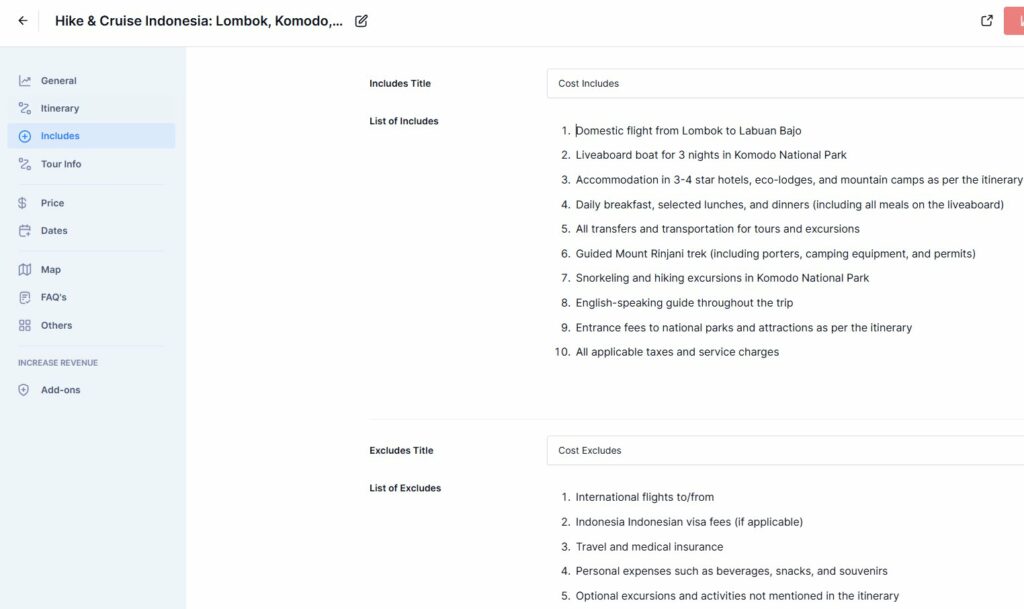
Includes: #
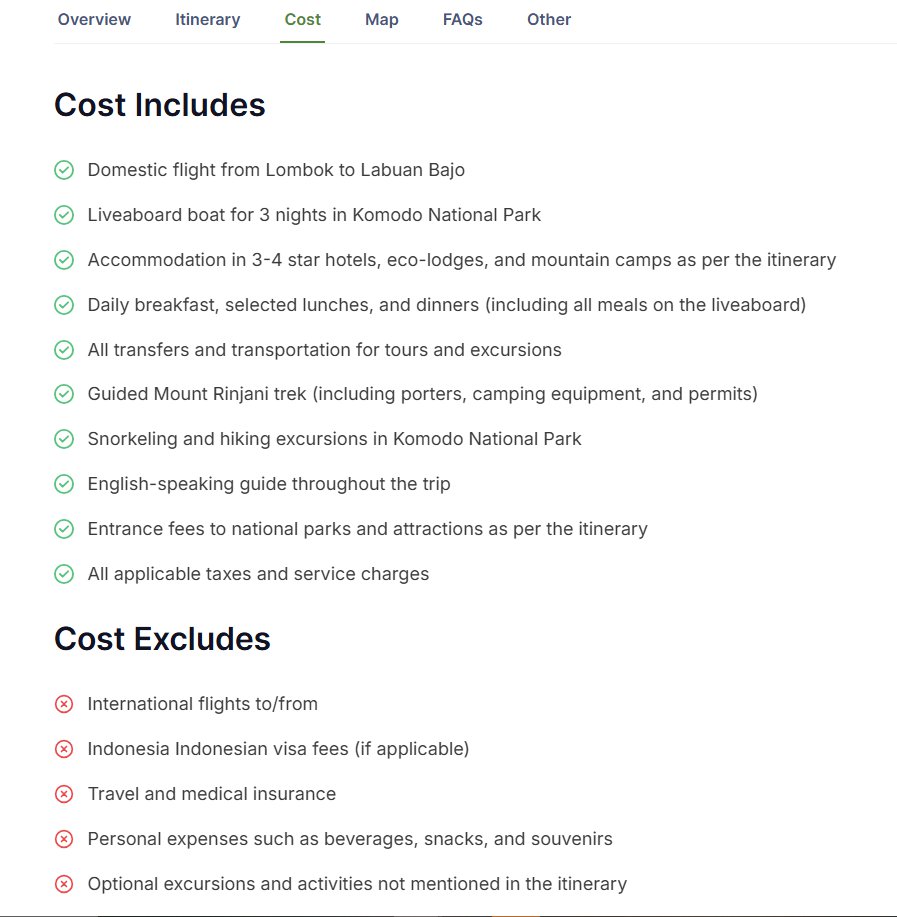
The Includes section lets you specify the services included and excluded in the tour. Fill out the following details:
- Includes Title: Enter a title for the includes section.
- List of Includes: Mention all the services and items that are included in the tour.
- Excludes Title: Enter a title for the excludes section.
- List of Excludes: Mention items that are not included in the tour package but may be necessary for travellers to complete the tour. It can also outline activities travelers can undertake independently, which are not part of the package.
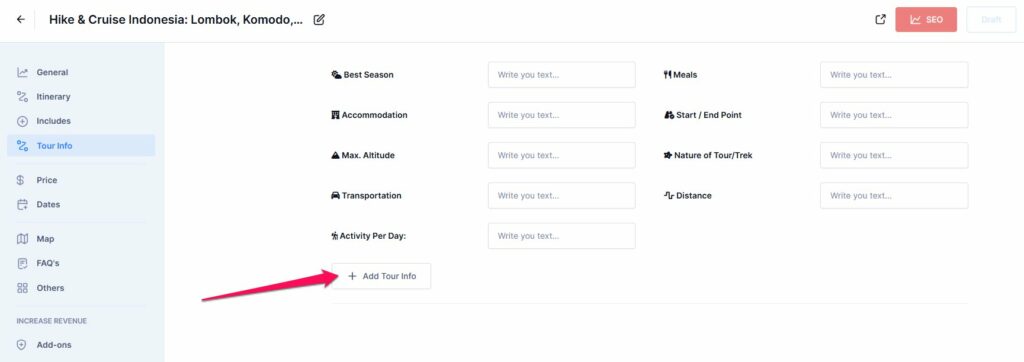
Tour Info: #
The Tour Info Tab allows you to provide additional details about your tour, helping travellers make informed decisions and enhancing the overall appeal of your tour package. This tab is where you can add key information such as the best season for the tour, accommodation options, transportation modes, maximum altitude, distance covered, meals provided, and more.

You can add Tour Info to specific trips. If you’ve already created Tour Info in the Global settings, it will automatically display in every trip. Simply fill out the placeholders for the information you want to include in that trip. To add more fields, click the “Add Tour Info” button. Any new Tour Info you create will be saved as a global field, allowing you to reuse it across multiple tours.
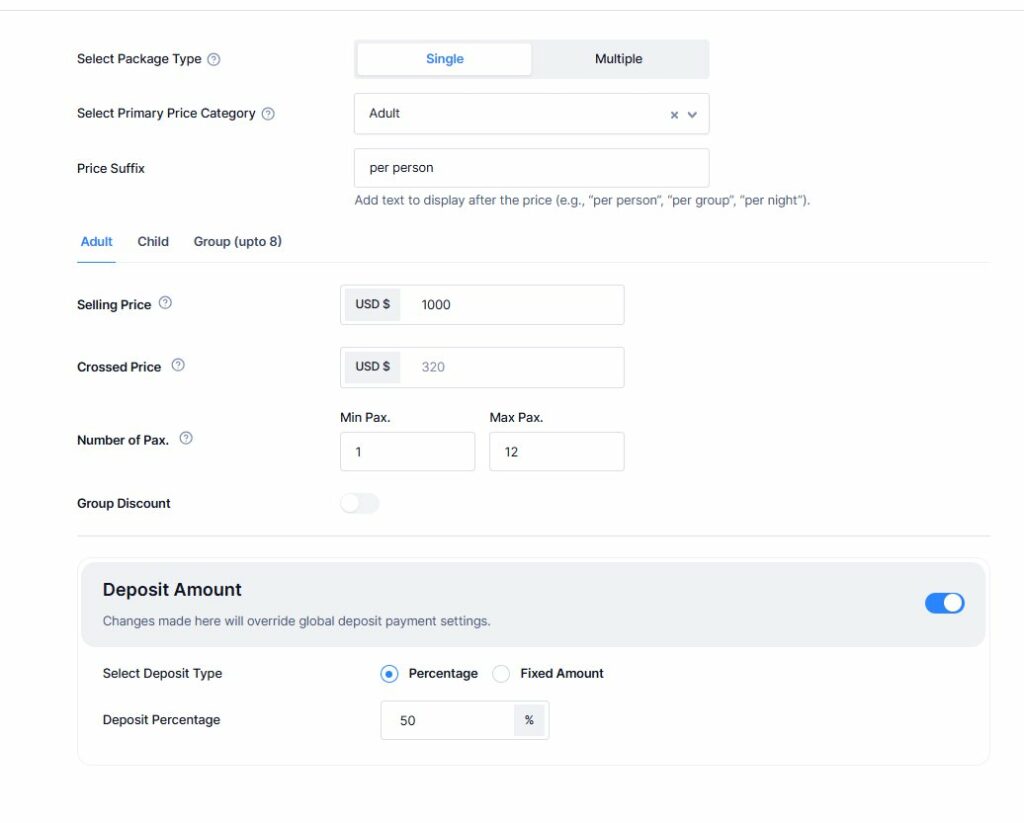
Price: #
The Pricing section allows you to configure the cost details for your tour. You can choose between two pricing types: Single and Multi-package.
For setting up multi-package pricing, please refer to this documentation here.
By default, you will find pricing categories such as Adult and Child. Please follow the instructions below to properly configure the Pricing section:
- Select Primary Price Category: Select a Primary Price Category to define how the tour pricing is displayed. This selected category will act as the main price. Only one category can be set as primary at a time.
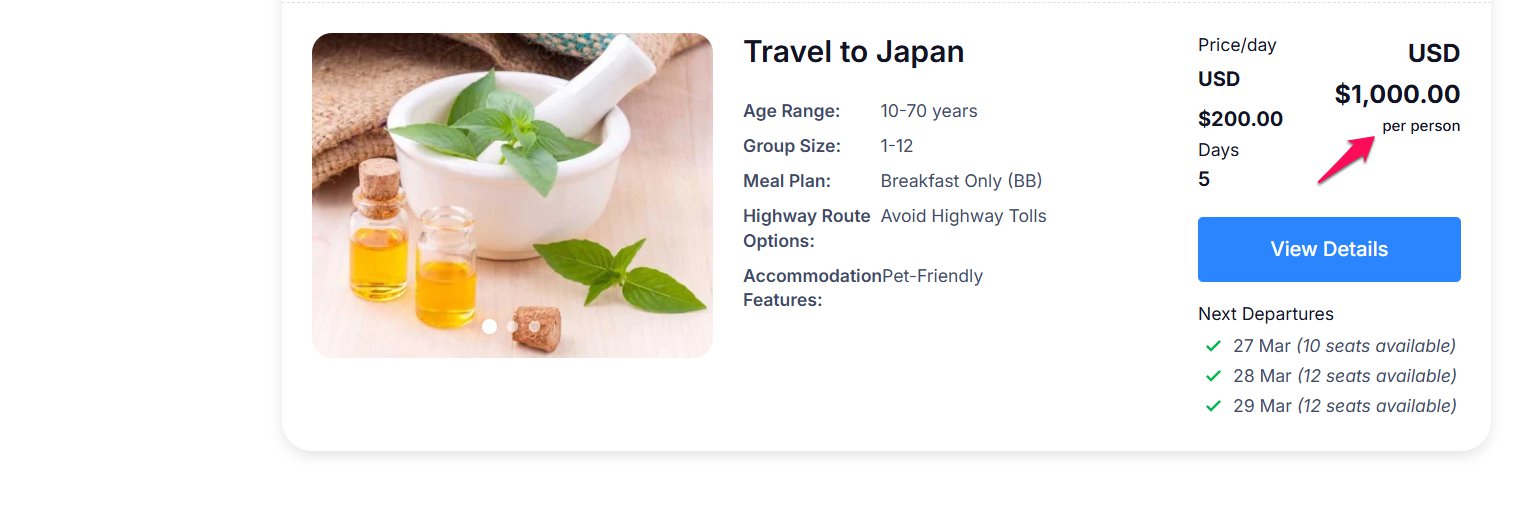
- Price Suffix : Use the Price Suffix field to add descriptive text after the price, such as “per person,” “per group,” or “per night,” to provide better clarity to users.
- Selling Price: Enter the selling price for each Pricing category.
- Crossed Price: Enter the crossed-out price. This can be used to show a discounted price for the tour.
- Min Pax.: Specify the minimum number of participants required for the tour.
- Max Pax.: Specify the maximum number of participants allowed for the tour.
- Group Discount: Enable the group discount option to offer discounts for groups. You can specify the number of people and the discounted price per person. You can learn about it in detail here.
Note: You can add various pricing categories as per your requirements. For each new pricing category, you need to add the same details (Selling Price, Crossed Price, Min Pax, Max Pax, Group Discount). For more information on how to add different pricing categories, refer to this link.
Deposit Amount #
The Deposit Amount option allows you to require travellers to pay a certain deposit before booking the tour, helping you maintain a list of confirmed travellers.
The deposit amount set here will override the global deposit payment settings and apply specifically to this tour. Choose the deposit type as either a percentage or fixed price, and enter the corresponding amount based on your selection.To enable this Deposit Payment, you can check instructions here.

Date: #
The Date tab allows you to add dates for the tour. Fill out the following details:
- Buffer time: Buffer Time is the number of days before the trip that prevents it from being booked. You can specify the number of days here to block bookings for the tour in advance.
- Starting Dates: You can select the tour’s starting date here and add multiple start dates for the tour.
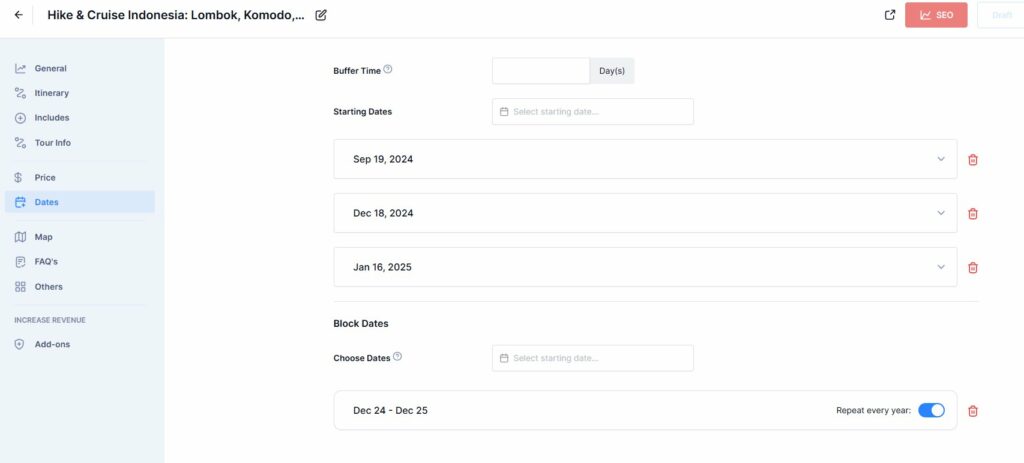
Note: You can set the tour starting date up to 36 months in advance. For example, if the current month is January 2025, the latest month available for booking will be December 2027. This ensures that bookings stay within the allowed 36-month period.
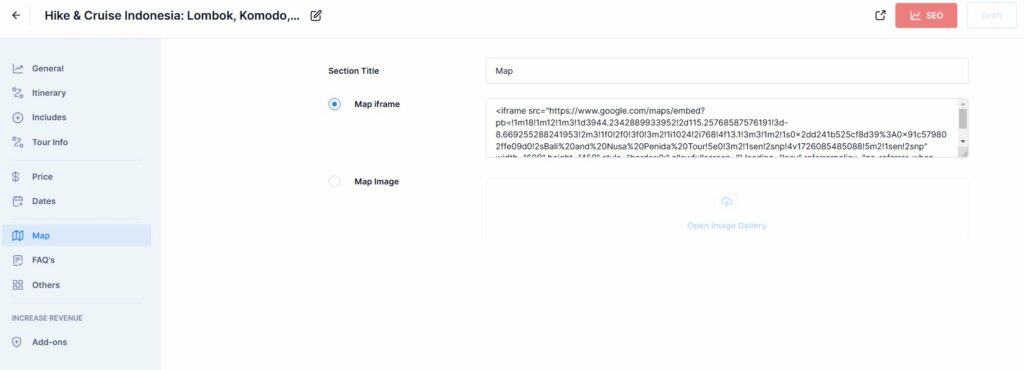
Map: #
The Map section allows you to provide a map of the tour. You can add an iframe code or upload an image of the map. Here’s how it looks on our tour page if you add an iframe code.

Fill out the following details:
- Section Title: Enter a title for the map section.
- Map Iframe: If you choose to use a map iframe, paste the iframe code here.
- Map Image: If you choose to use a map image, upload the image file here. To generate an iframe for embedding a map online, you can use a tool like Google Maps.
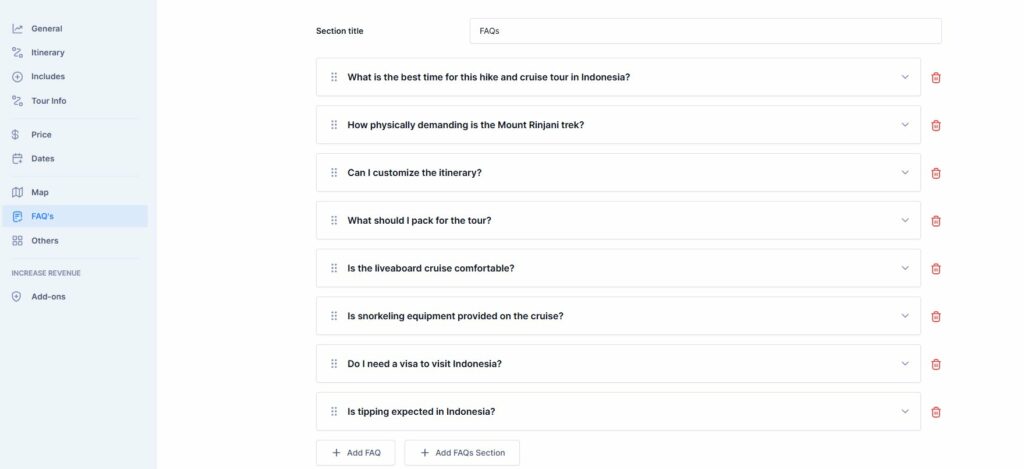
FAQs: #
The FAQs section allows you to add Frequently Asked Questions regarding your tours. This is how the FAQs section looks on your tour page.

Fill out the following details:
- Section Title: Enter a title for the FAQs section.
- Add FAQs: Add individual questions and answers:
- Question: Enter the FAQ question.
- Answer: Provide the answer to that question.
- Add FAQs section
- Enter Subtitle: Enter a subtitle for the FAQs section if needed.
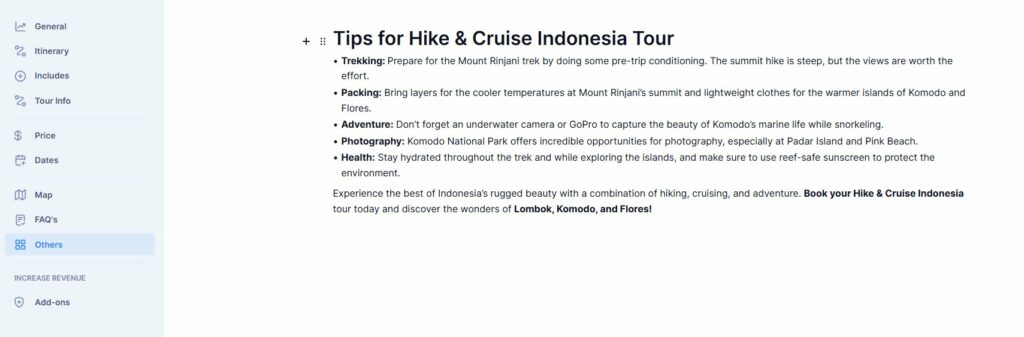
Others: #
This section lets you add extra text or descriptions about the tour. You can use a number of blocks to format the tour details here.
Add-ons: #
The Add-ons allow you to add additional services for tours. The add-ons make it easier for tour operators to add services like airport pick-up, hotel drop-off, vehicle rental, or any other services you want to the tours. Tour operators and travel agencies can specify the extra services and their rates while creating the package. Later, travellers can book the package along with extra services at a specified additional cost.
If you need to edit or delete some of the extra services, you can just click on the delete icon.
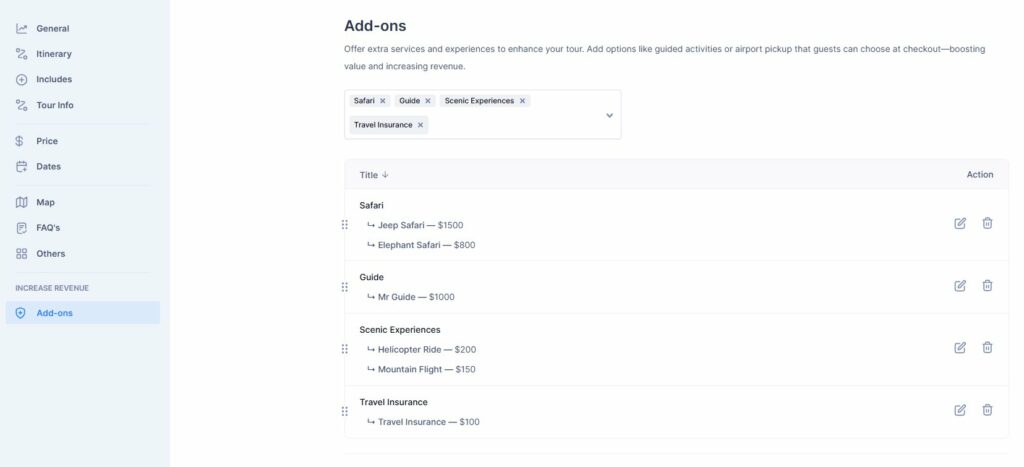
Note: You can find instructions on how to add add-ons through this link.
📧 If you face any issues or have questions, please reach out to our support team or initiate the chat located on the right.