The header is one of the most important parts of your website as it displays your branding, navigation, and essential contact information.
This guide will walk you through the steps to customize your header, including adding your logo, setting up the navigation menu, and adjusting the design to match your style
Access Header Settings #
- Go to your Dashboard.
- Expand the Website Settings menu and click Website Builder to open the builder settings.
- Navigate to the Header section.
Configure Content Tab #
The Content tab lets you manage branding, navigation, and contact details.

Site Logo:
- Select Image: Add your site logo by uploading an image or choosing one from your media library.
- Image Width: Use the slider to make the logo bigger or smaller.
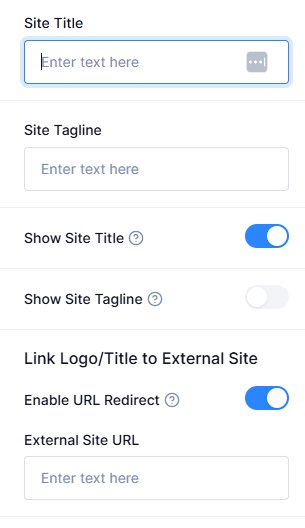
Site Title and Tagline:
- Site Title: Enter the name of your website (e.g., “My Travel Blog”).
- Site Tagline: Add a short description or slogan (e.g., “Explore the World with Us”).
- Show Site Title: Toggle this option to show or hide the site title in the header.
- Show Site Tagline: Toggle this option to show or hide the tagline below the title.
- Link Logo/Title to External Site: Turn on the toggle to link the site logo to a different URL. Once enabled, an option will appear for you to enter an external link.
Favicon:
- Select Image: Upload a small image that represents your website. This icon appears in browser tabs.
Navigation Menu:
- Choose Navigation Menu: Select the menu to display in your header. This menu helps visitors navigate your site.
- Sticky Menu: Enable or disable the sticky menu to keep it fixed at the top of the page when scrolling, ensuring constant accessibility.
Contact Information:
- Email: Enter the email address to display in the header, increasing accessibility for visitors to contact you.
- Phone Number: Add a phone number for direct contact.
Social Network:
- Social Network: Add links to your social media profiles, enabling visitors to connect with you on various platforms.
Header Button:
- Button Label: Enter the text for the button (e.g., “Contact Us” or “Sign Up”).
- Button URL: Provide the URL the button should link to, guiding visitors to important pages or actions.
Configure Style Tab #
From the Style tab, you can modify the appearance of your header:
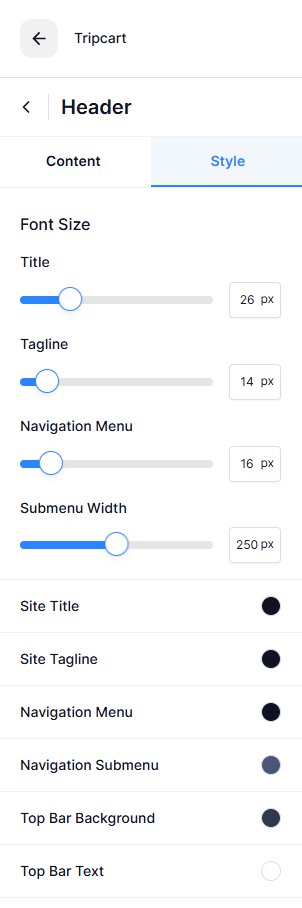
Font Size:
- Adjust the font size for Site Title, Tagline, Navigation Menu, and Submenu using sliders.
Colors:
- Site Title: Set the color of your website name.
- Site Tagline: Choose a color for your site tagline.
- Navigation Menu: Pick a color for the menu text.
- Navigation Submenu: Choose colors for submenu items.
- Top Bar Background: Set the background color of the top bar.
- Top Bar Text: Choose a text color in the top bar.
- Contact Icons: Select colors for your contact icons.
- Social Icons: Set the color for social media icons.
- Main Bar Background: Select the background color for the main header area.
- Button Background: Choose the color for the button background.
- Button Text: Set the color for button text.
Custom CSS:
Add custom CSS for advanced styling and unique design elements beyond the provided options.
📧 If you face any issues or have questions, please reach out to our support team or initiate the chat located on the right.