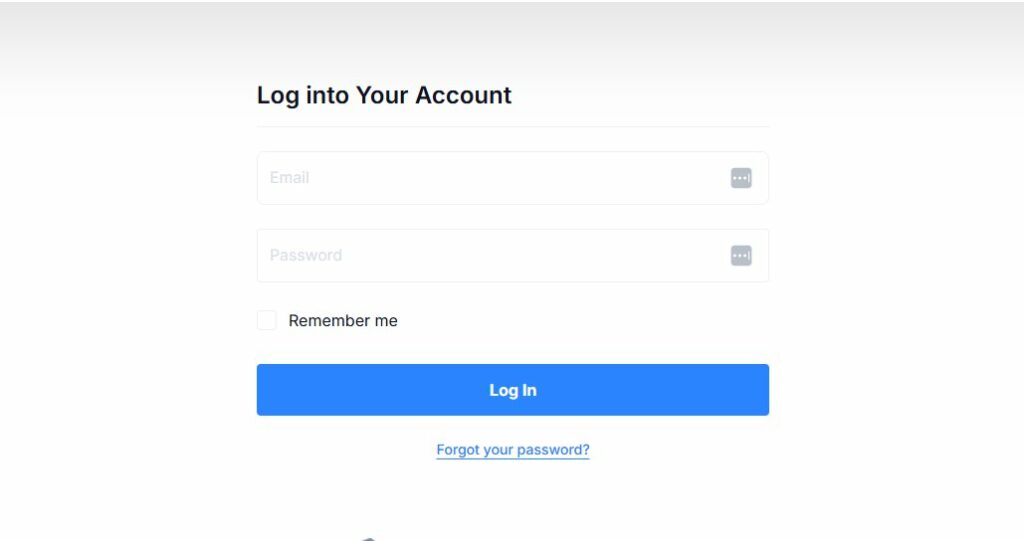
The Account Page in Tripcart is a predefined page that allows users to manage their bookings, view account details, and update their address information. You can assign this page as a menu item to provide users with easy access to their account-related information.
Steps to Assign the Account Page to Menu Items #
- Log in to your Tripcart Dashboard.
- Navigate to Website Settings from the left sidebar.
- Click on Menu to open the menu management section.
Step 1: Create or Edit a Menu #
- If you want to create a new menu:
- Click on Add New Menu and enter a title (e.g., “Main Menu”).
- Click Save to create the menu.
- If you want to modify an existing menu:
- Select the menu you want to edit.
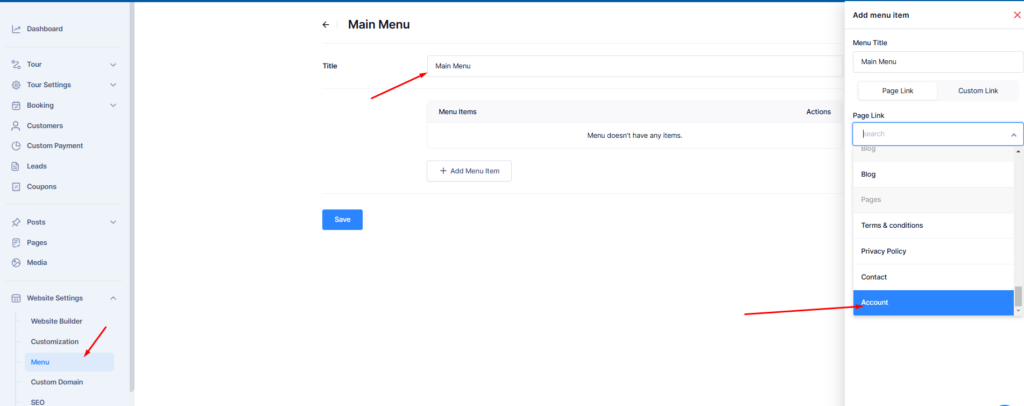
Step 2: Add the Account Page as a Menu Item #
- Click on Add Menu Item.
- Select Page Link.
- Use the search bar to find Account.
- Click on the Account page to add it to the menu.
- Click Save to update the menu.
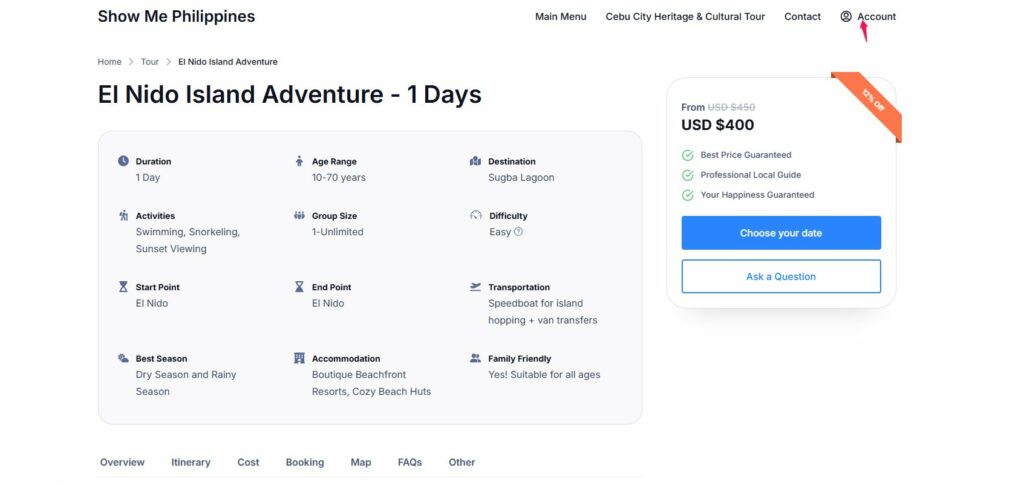
Step 3: Verify the Account Page in the Menu #
- Open the front end of your website.
- Ensure the Account menu item is displayed in the navigation menu.
- Click on it to confirm it directs users to their Account Dashboard.
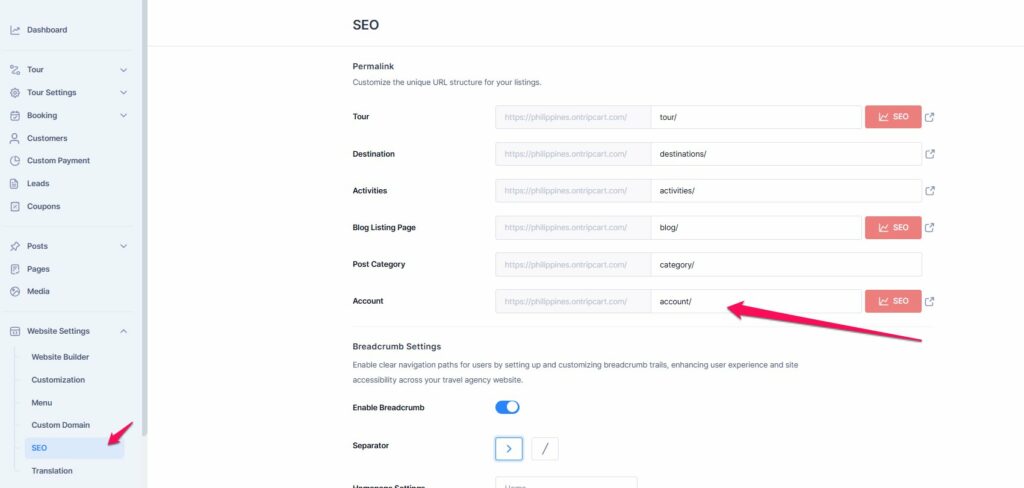
Step 4: Update URL of Account Page #
If you need to change the URL of the Account Page, please navigate to Dashboard > Website Settings > SEO > Account.
Features of the Account Page #
Once users log in, they can access the following sections:
- Booking – View their booking history and upcoming tours.
- Address – Manage and update their saved address.
- Account Details – Modify personal information such as name and email.
By following these steps, you can successfully add the Account Page to the menu and improve user accessibility to their booking details and profile management.