The Altitude Chart is an additional feature in Trip Cart that allows you to display altitude changes along the tour route. This feature helps travelers to understand difficulty levels. Follow the steps below to enable and configure the Altitude Chart for your tour itineraries.
Step 1: Enable the Altitude Chart Tool #
- Navigate to the Dashboard.
- Go to Apps > Tools.
- Locate the Altitude Chart feature.
- Enable the toggle switch to activate the tool.
- Click the Configure button to access the settings.

Step 2: Configure the Altitude Chart #
- In the configuration page, set the Position of the chart (Above or Below Itinerary).
- Select the Altitude Unit (Meters or Feet).
- Choose the Theme Color for the chart.
- Click Save to apply your settings.

Step 3: Add Altitude Data to Tour Itineraries #
- Navigate to Dashboard > Tours > All Tours.
- Select the tour from the list that you want to update.
- Click on the Itinerary tab.
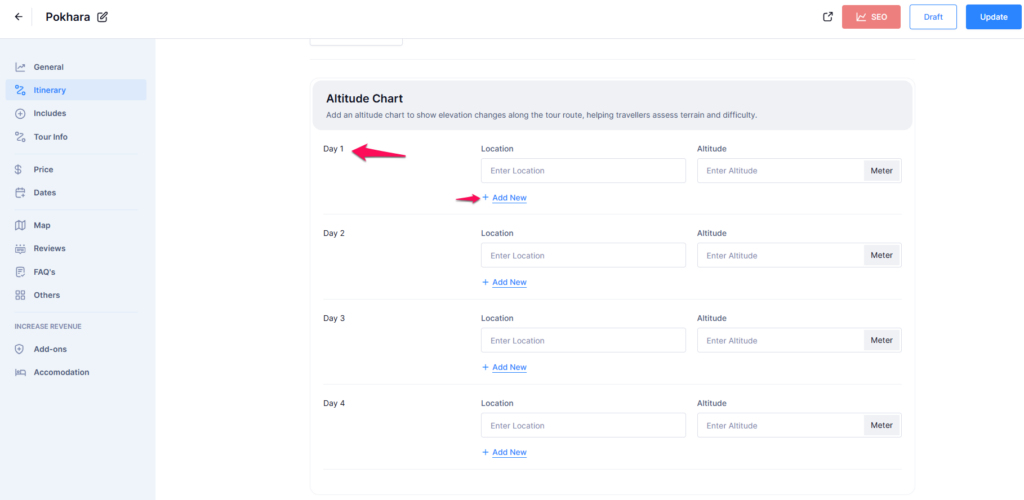
- Locate the Altitude Chart section.
- For each day:
- Enter the Location.
- Enter the Altitude.
- If there are multiple locations for a single day, click + Add New to enter additional altitude data.
- Once all locations and altitudes are added, click Update to save changes.
By following these steps, you can successfully add an Altitude Chart to your tour itineraries, providing travelers with essential elevation details for their journey.