The Traveler Login Page allows travelers to access their personal account, where they can view bookings, make remaining payments, update personal details, and manage upcoming tours.
Benefits of the Traveler Login Page #
- Allows easy management of pending or partial payments.
- Displays upcoming and past tours in one organized place.
- Enables travelers to update accounts and billing details anytime.
- Improves trust and transparency with a dedicated traveler dashboard.
How Traveler Accounts Are Created #
Traveler accounts are created automatically by Tripcart when a customer books a tour. Depending on the booking scenario, the account is either created instantly or skipped.
When a Traveler Account Is Created #
- Full Payment: The traveler pays the total trip amount at checkout.
- Partial Payment: The traveler pays only a portion (deposit) of the total amount. (Learn about Partial Payment here )
- Book Now, Pay Later: The traveler books a tour without making an immediate payment.
When a Traveler Account Is Not Created #
- When a manual booking is created by the tour operator from the backend.
- When a custom payment link is used for the purchase.
- When a booking is made through an external link or third-party channel.
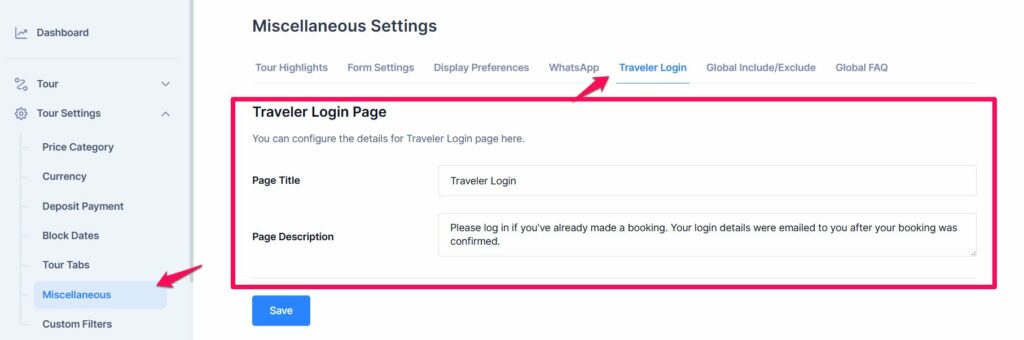
Configure the Traveler Login Page #
You can customize the Traveler Login Page title and description to better align with your company and guide travelers through the login process.
Steps to Edit #
- Go to Dashboard → Tour Settings → Miscellaneous → Traveler Login Page.
- Update the following fields:
- Page Title: Add a custom title such as My Trips or Traveler Portal.
- Page Description: Write a brief message explaining what travelers can do on this page, like logging in, checking bookings, or completing payments.
Customizing these settings helps create a more personalized experience and improves clarity for your travelers.
How to Add the Traveler Login Page to the Menu #
You can add the Traveler Login Page directly to your website’s main menu so travelers can easily access their account from the navigation bar.
Steps to Add the Menu Item #
- Go to Dashboard → Website Settings → Menus.
- Under the Primary Menu, select Traveler Login Page from the dropdown list and add it to the menu.
- Save your changes.
This will display the Traveler Login Page link in your website’s header.
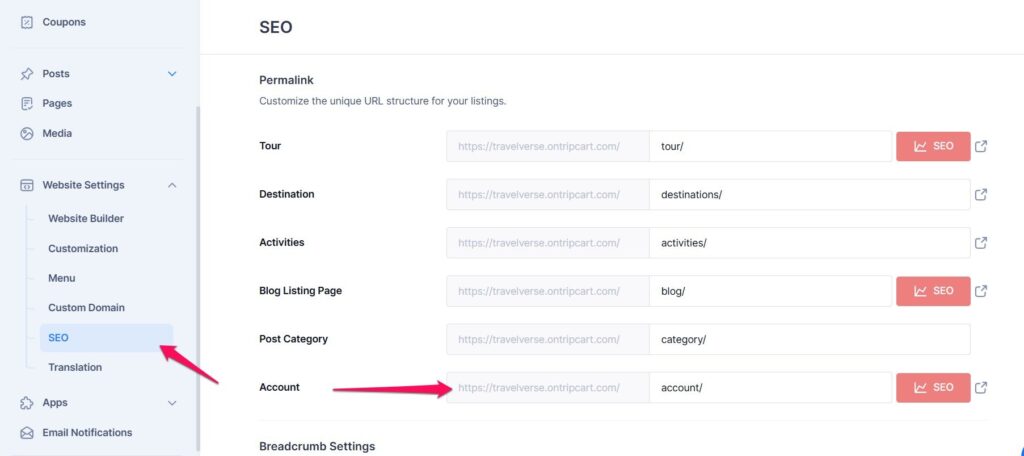
If you want to update or customize the login page URL:
- Go to Dashboard → Website Settings → SEO → Account.
- Update the permalink under the Account section.
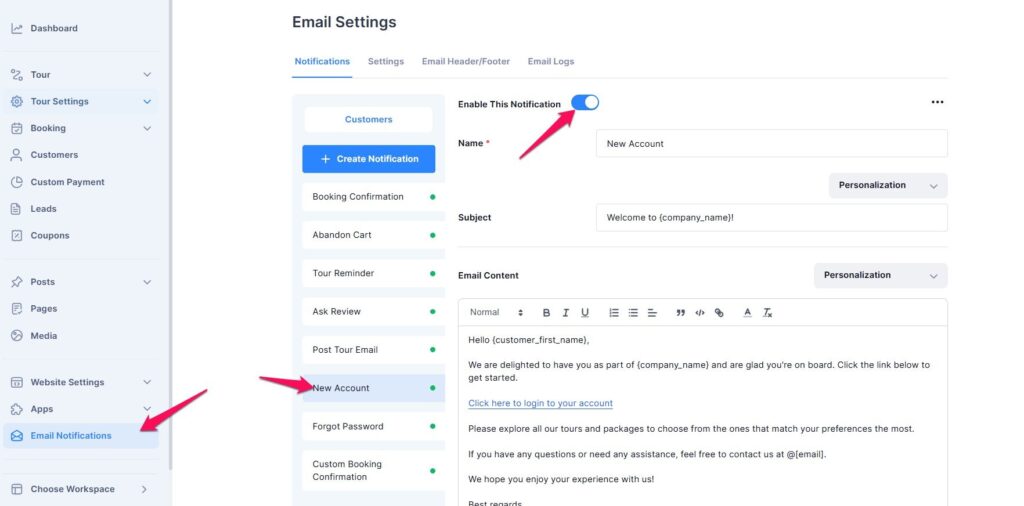
How to Configure the Email Notification for Traveler Registration #
Tripcart automatically sends an email to travelers when they book a tour for the first time. You can customize this email template or manage its delivery through your dashboard.
Steps to Configure the Email #
- Go to Dashboard → Email Notifications → Notifications.
- Locate the Traveler Account Creation Email template.
- Customize the subject and body text to match your brand tone.
- Make sure the email notification is enabled to send automatically whenever a new tour booking is made.
After setup:
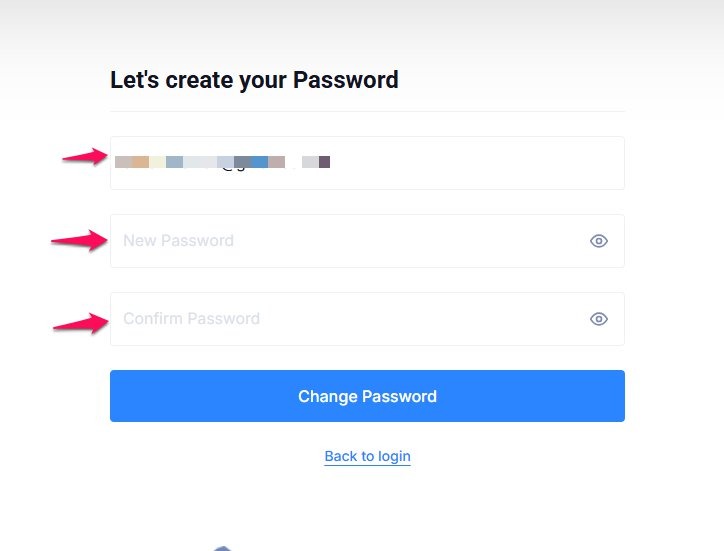
- When a traveler books a tour for the first time, they’ll receive an email containing a secure link to set their password and activate their account.
- The email used during booking becomes the traveler’s username.
- The traveler must create and confirm a new password to activate their account.
Note: Ensure your SMTP settings are properly configured to deliver registration emails successfully.
Follow this guide: Configure SMTP for Your Website
Once the account is activated, travelers can log in to their dashboard to view and manage their tours.
Inside the Traveler Dashboard #
After logging in, travelers are taken to their Traveler Dashboard, where they can easily view and manage their bookings, payments, and account details all in one place.
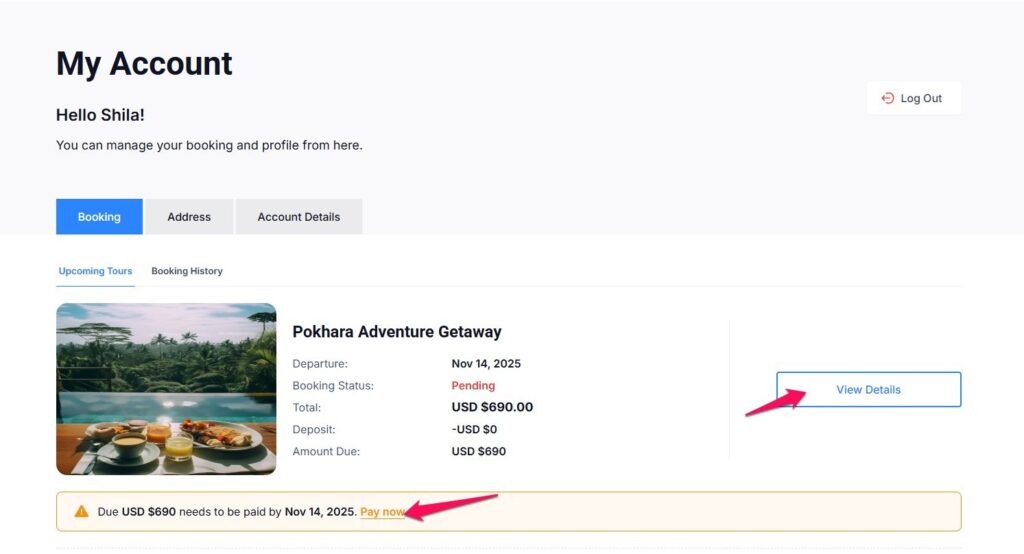
1. Bookings #
The Bookings tab shows a complete overview of all active and past tours. Each booking block displays the tour name, departure date, payment status, and total amount paid or due.
Depending on how the traveler booked or paid, the booking status may appear as Pending, Partial Payment, or Completed.
- Pending Status
If the traveler used the Book Now, Pay Later option, the booking will appear as Pending. The total payable amount is displayed, and travelers can click Pay Now to complete the payment through any available gateway. This redirects them to the checkout page to finalize their payment.
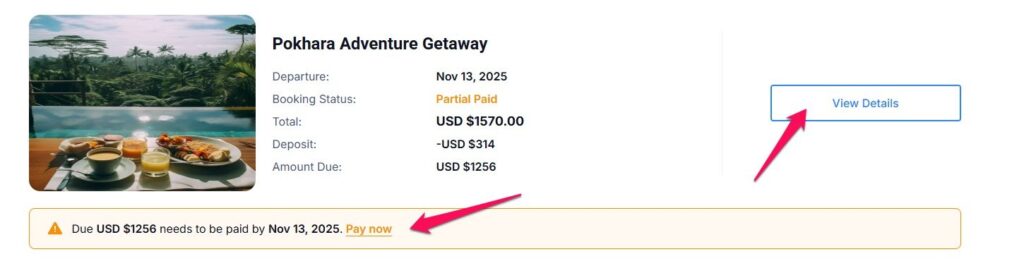
- Partial Payment Status
When a traveler pays only a portion of the total amount, the booking shows as Partial Payment. A Pay Now button appears, allowing the traveler to pay the remaining balance directly from the dashboard using any active payment method. Once the payment is complete, the booking automatically updates to Completed.
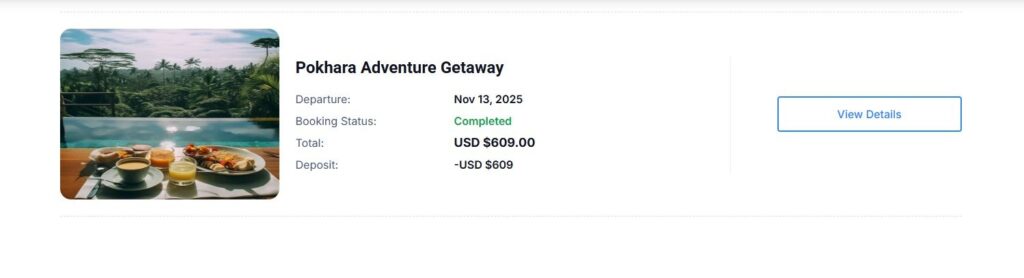
- Completed Status
For bookings where the traveler has already paid the full amount, the status appears as Completed. Travelers can view the departure date, total cost, and booking summary, and click View Details to see all related booking information.
The dashboard provides a clear and organized view of all tours, making it easy for travelers to track their payments and upcoming trips without any hassle.
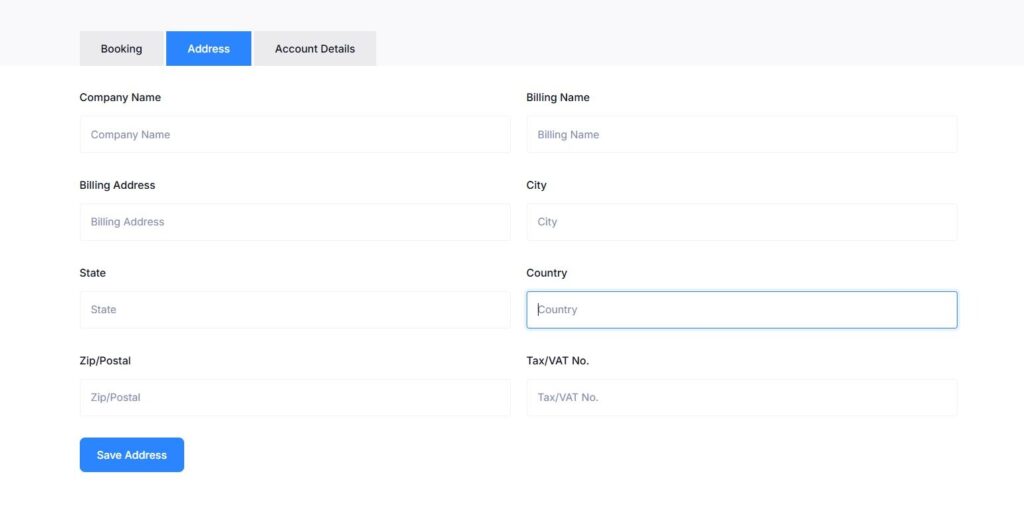
2. Address #
Travelers can update their billing information from the Address tab.
Available fields include:
- Company Name
- Billing Name
- Billing Address
- City
- State
- Country
- Zip / Postal Code
- Tax / VAT Number
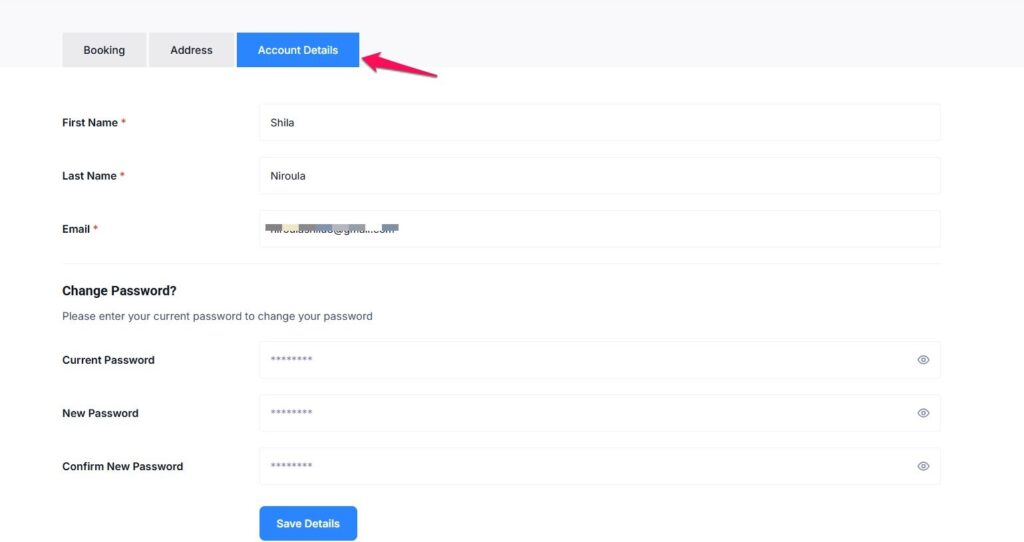
3. Account Details #
This tab contains the traveler’s personal information, including:
- Registered email address (used for login)
- Traveler’s name
- Option to update password
Travelers can modify their passwords anytime for security or convenience.
FAQs #
Can travelers create an account manually before booking a tour? #
No. Traveler accounts are created automatically only after booking a tour.
Will a traveler account be created for a manual booking made by the operator? #
No. Manual bookings created by the operator do not trigger automatic account creation or email invitations.
What happens if the traveler doesn’t receive the account creation email? #
Ensure your SMTP settings are correctly configured under your site’s email settings.
Can travelers see all their past bookings after logging in? #
Yes. The Bookings tab lists all confirmed, pending, and partially paid bookings under the same email address.
How to pay the remaining amount from the dashboard? #
If a traveler has made a partial payment, they can complete the remaining balance directly from their Traveler Dashboard. Go to the Bookings tab and click the Pay Now link under the specific tour. This will take the traveler to the checkout page, where they can pay the remaining amount using any of the available payment options.
Can the traveler pay the remaining amount in multiple transactions? #
No. The remaining balance must be cleared in a single payment through the Pay Now link. After the payment is made successfully, the booking status will automatically change to Completed.
📧 If you face any issues or have questions, please reach out to our support team or initiate the chat located on the right.