Tripcart allows you to create different types of forms for general inquiries, contact purposes, and more. Follow the steps below to create and configure your forms.
Creating a New Form #
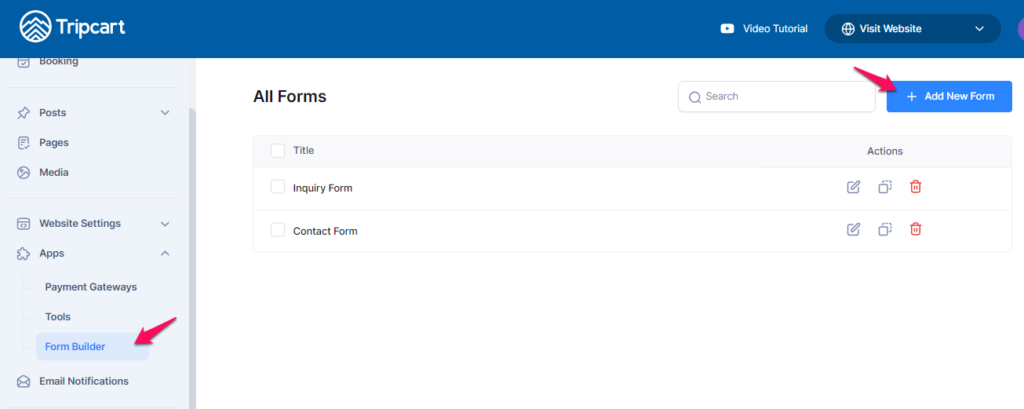
- Go to your Dashboard and select Apps > Form Builder.
- Click on Add New Form to start creating your form.
- Enter the name of your form.
- Configure the fields you want to include in your form.
- Click on Edit for each field to customize its type, label, placeholder text, and description. You can also choose whether to make the field required or optional.
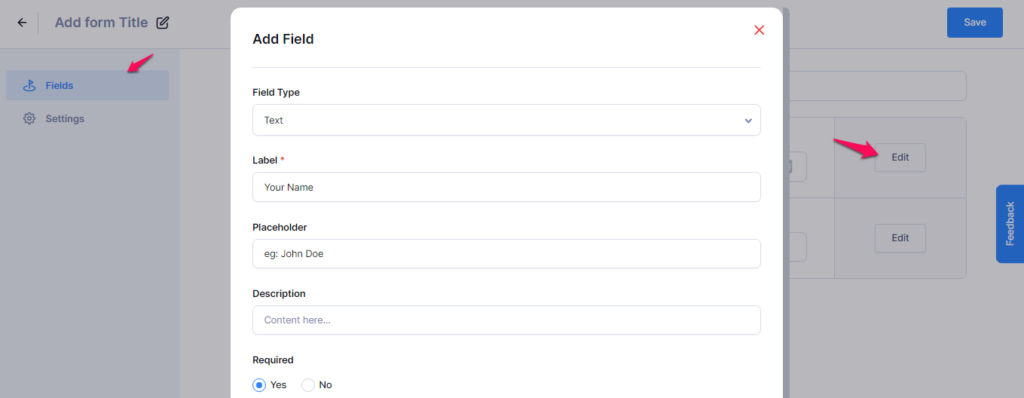
- Add as many fields as needed based on your requirements.

- Once you’ve finished creating your form, click Save to store your changes.
Configuring Form Settings #
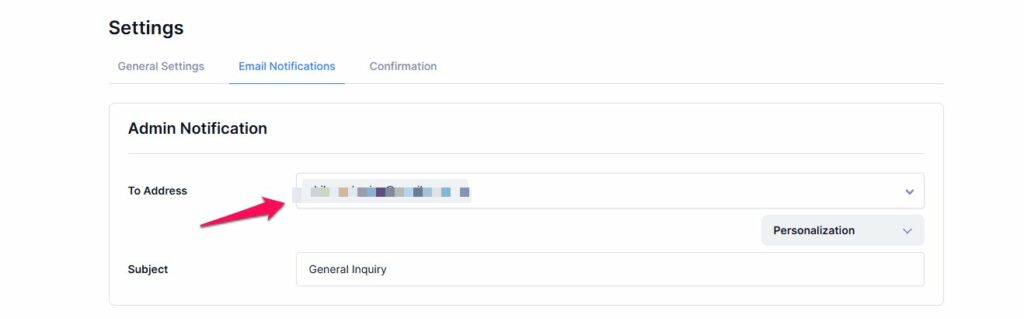
- Email Notification: Set the admin email address where you want to receive form submissions. If there are multiple admins, you can enter more than one email address, and all of them will receive notifications.
- Subject: You can also customize the subject line for the contact form emails.
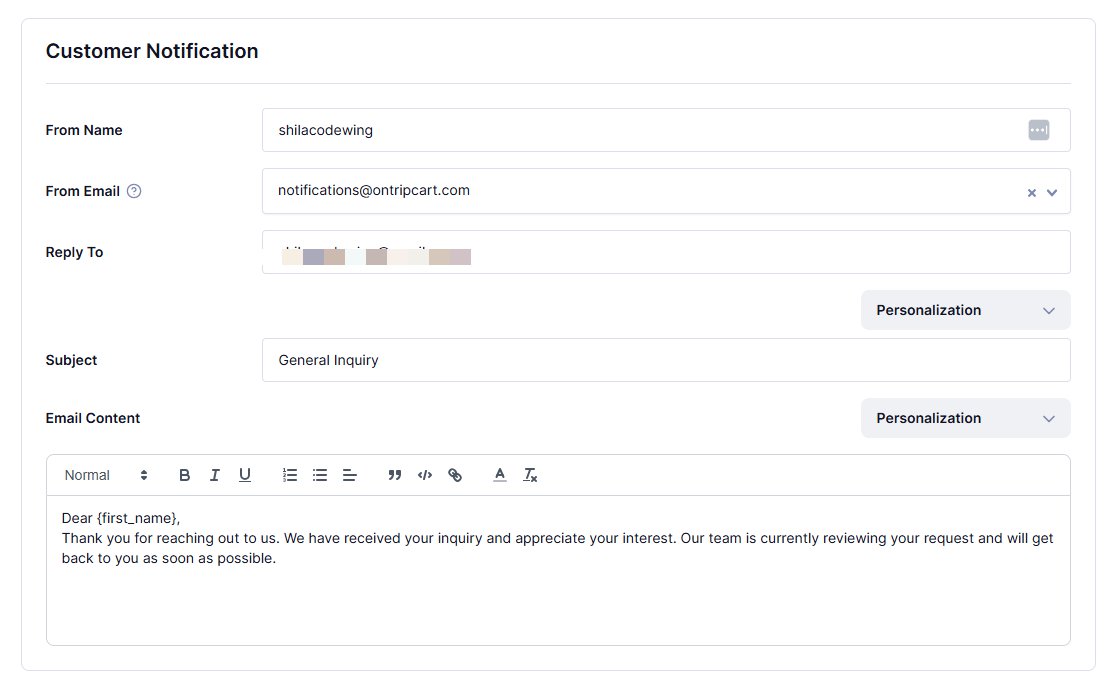
- Customer Notification: You can customize the list of information from customer notification.
- From Name
- From Email
- Reply to
- Subject
- Email Content
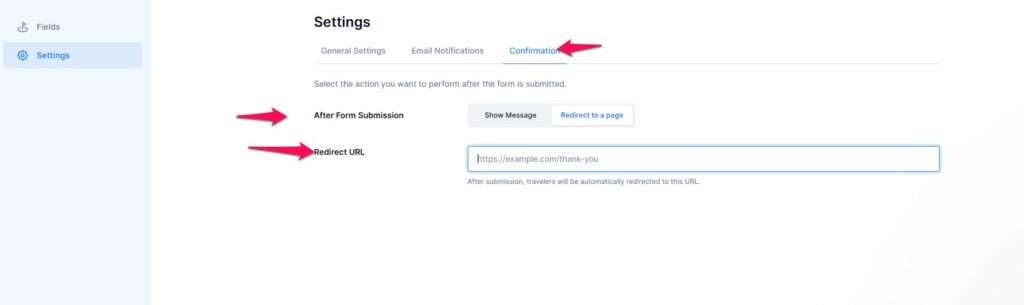
Confirmation Message #
You can either show a confirmation message immediately after the form is submitted to indicate a successful submission or redirect users to another page where you can display additional information after submission. There are two options available to configure how this confirmation is displayed.
- Show Message: Customize the confirmation message that appears after the form is successfully submitted. This option is enabled by default for this setting.
- Redirect to a page: You can add the URL of the page you want users to be redirected to after the form is submitted. This page can display a success message or any additional information, and travelers will be automatically redirected to it once the submission is complete.
📧 If you face any issues or have questions, please reach out to our support team or initiate the chat located on the right.